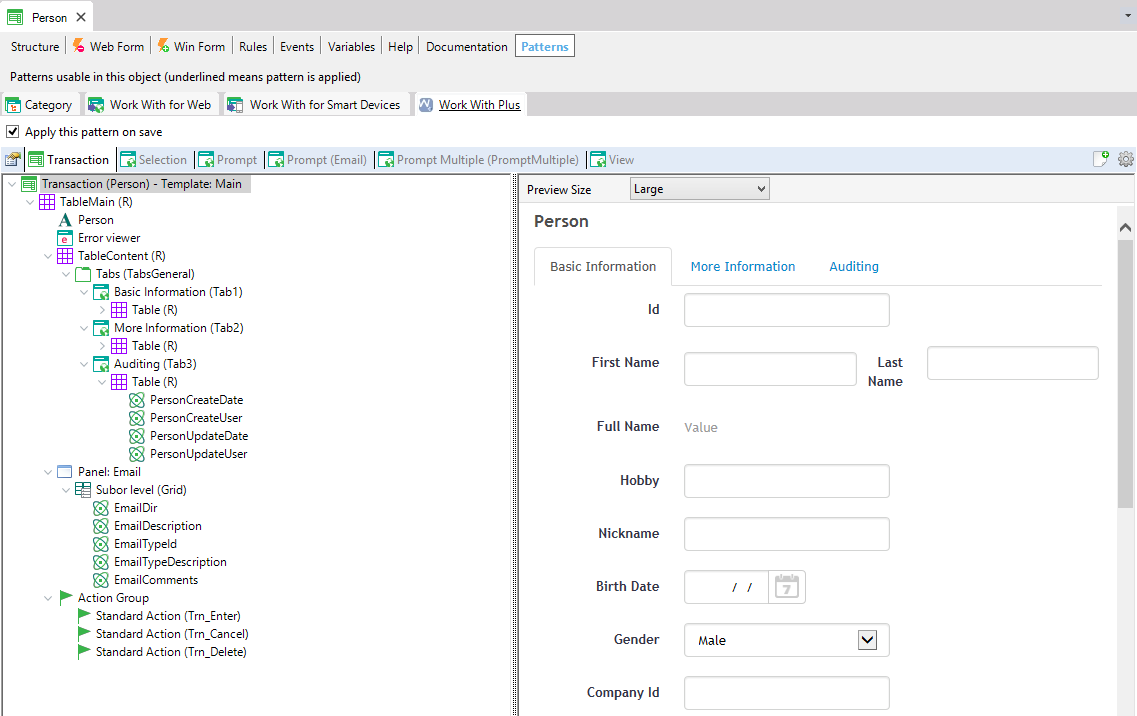
WorkWithPlus has a unique IDE for working with WorkWithPlus for Web and Native Mobile. In this IDE you will visualize each object generated by some transaction in different Tab so that you can navigate through these objects in an easier way.
Also, you have to option to have a real-time Preview. So, each time you make a change within the instance the Preview will be updated.
This IDE is available in GeneXus X Evolution 2 or higher.
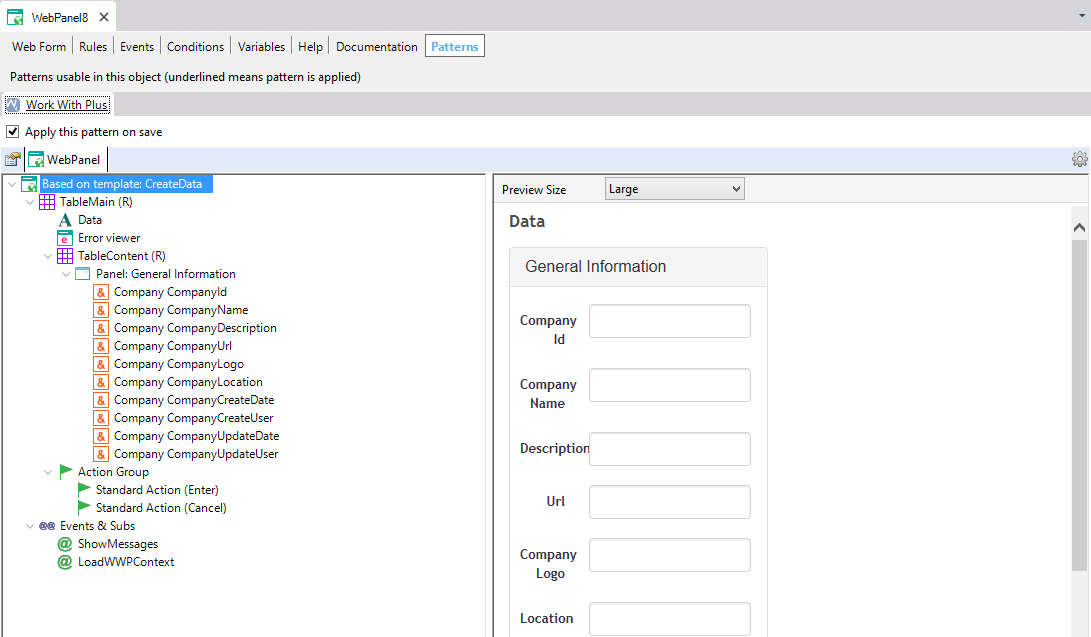
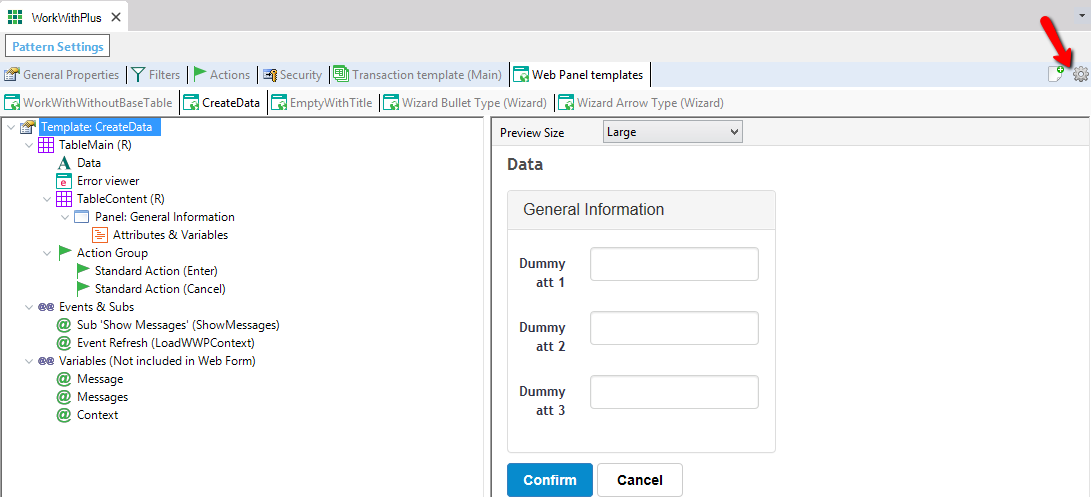
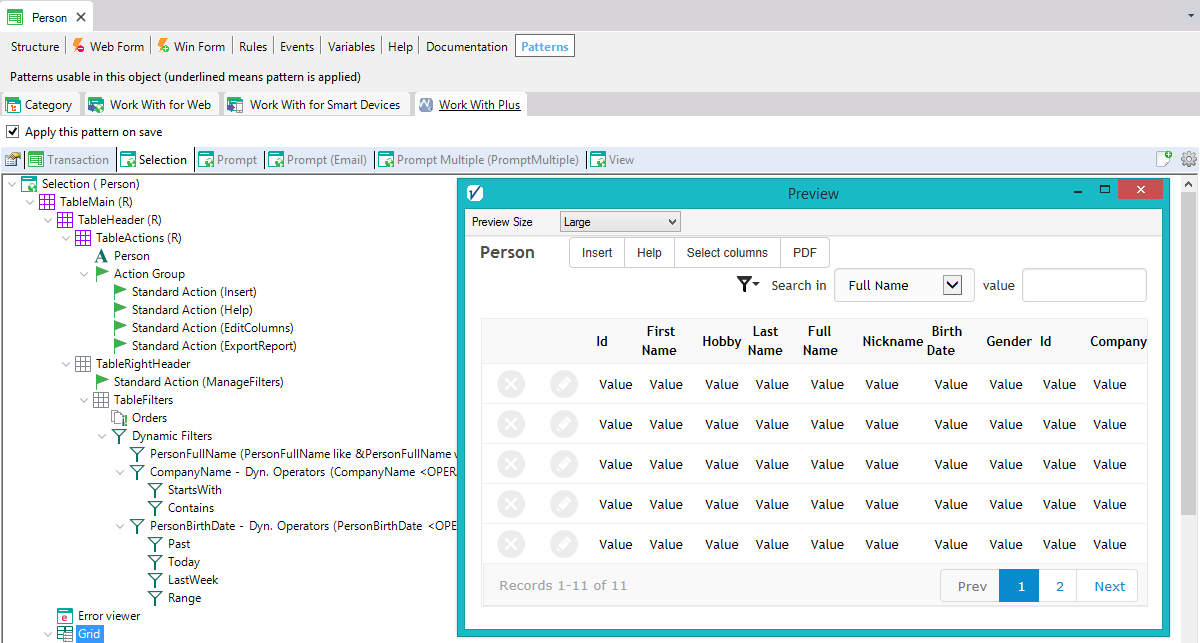
Example of IDE in a transaction's instance
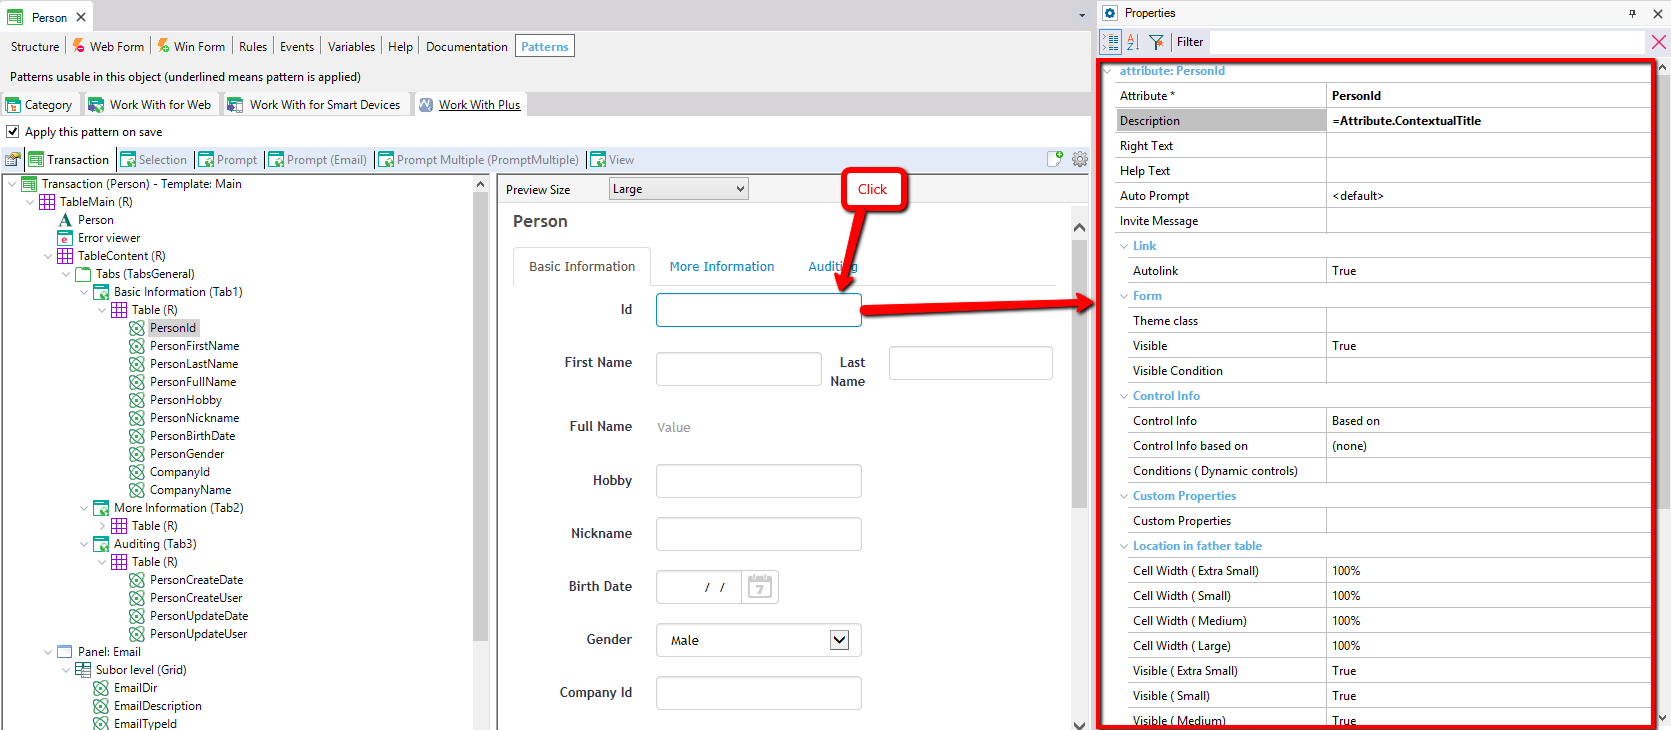
If you make click over an item in the Preview (attribute, textblock, etc.), you will be able to modify its properties. This is the same as clicking in the item´s node, but in many cases, it's faster and simpler for developers:
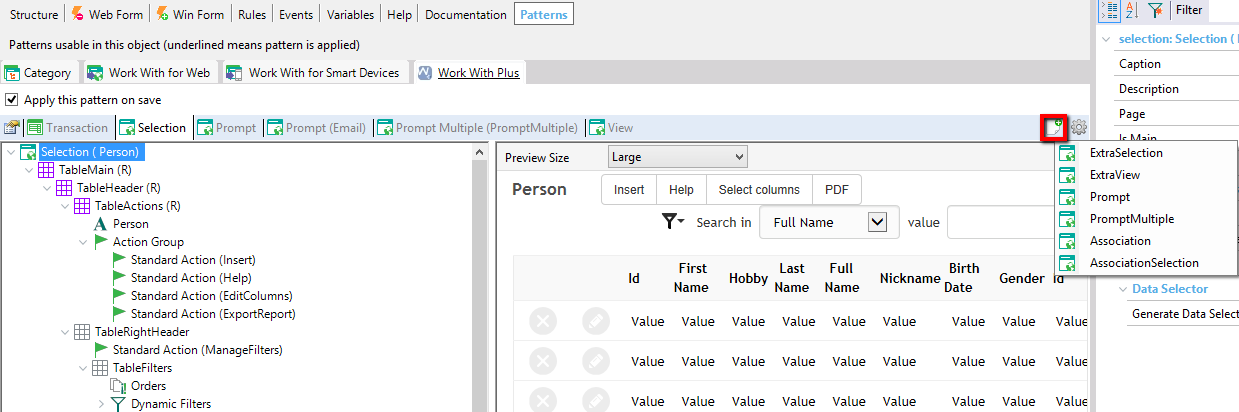
This IDE has actions that are at the top right actions (detailed below) and also has actions that can be made directly there using a toolbar and making hover to the controls. Some of these actions are:
- Insert new controls from the toolbar
- When positioning the cursor on an element, the selected element will be highlighted. You can choose whether to highlight it permanently, for some seconds or not highlight it at all
- Change the title, caption, description of attributes, variables, textblocks, panels, buttons, etc. As you can visualize, each control in the form has a set of options, which is shown when making a hover over the control.

- Drag & Drop elements within the form, and also in a grid in order to reorder them. As for attributes and variables within a grid, you can easily change the alignment of the column, the look & feel of that column, or its title, among other features.
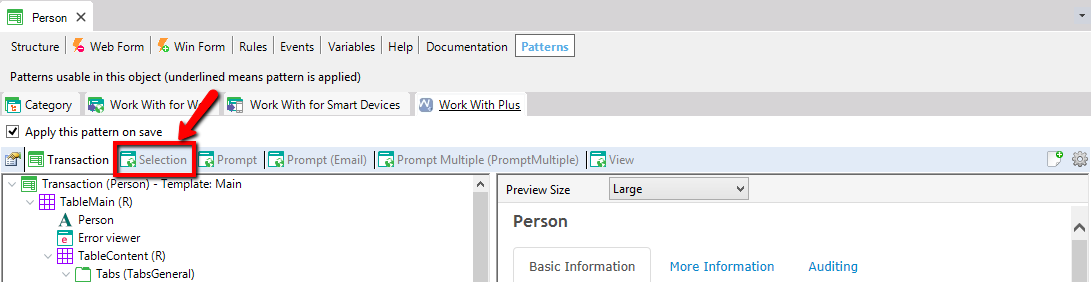
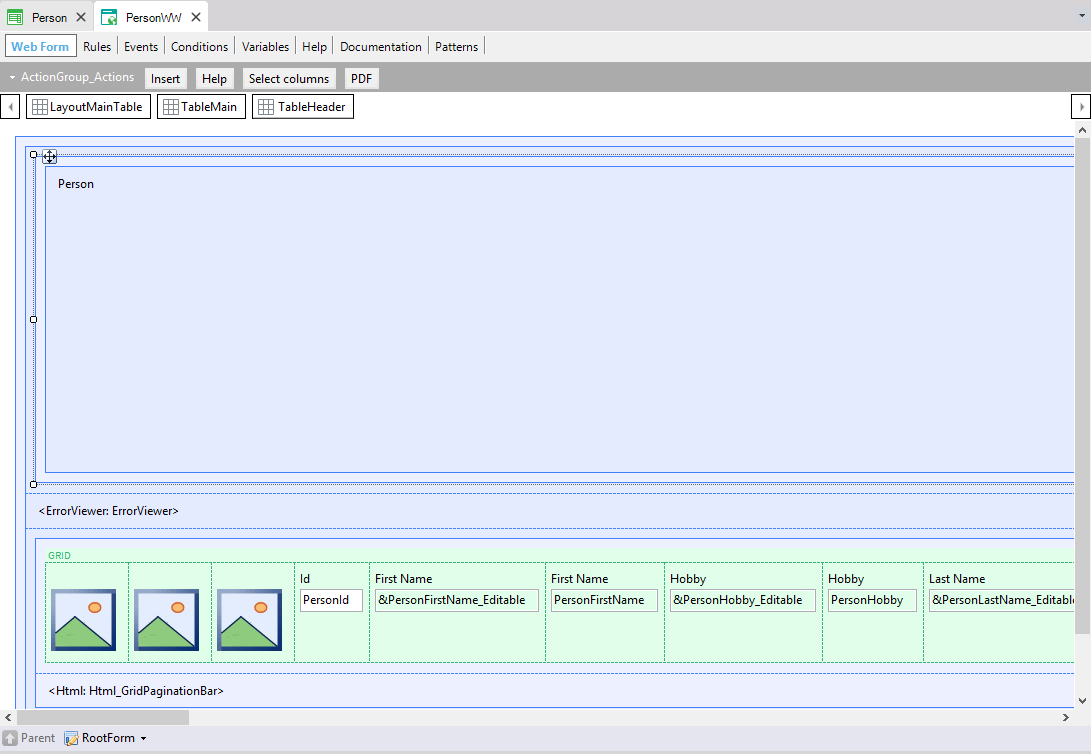
If you make double click in any Tab (Selection, Prompt, View, etc.), the associated object will be opened:
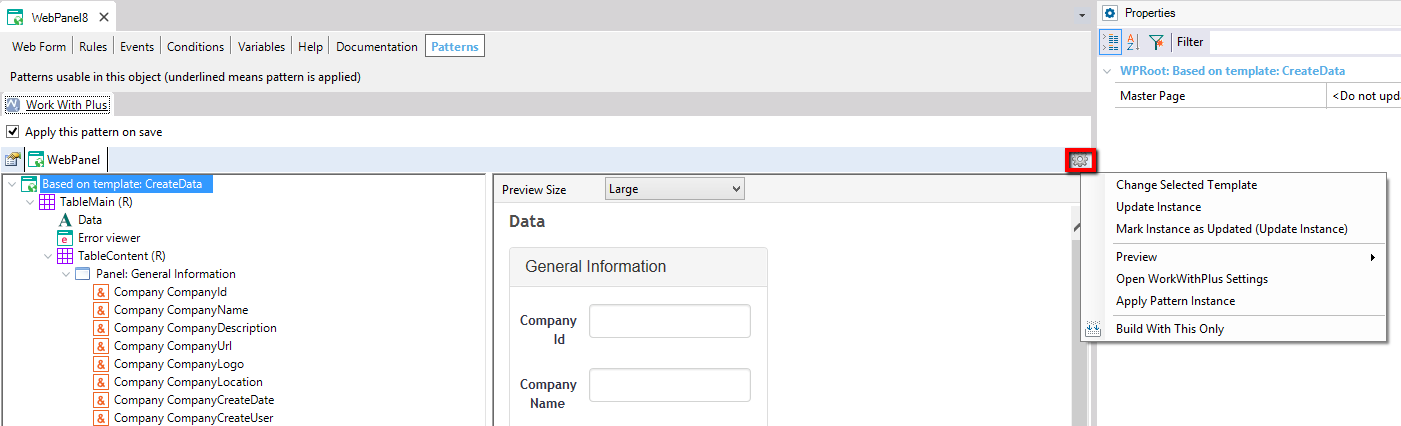
There are two icon buttons. These actions are always located at the right top corner:
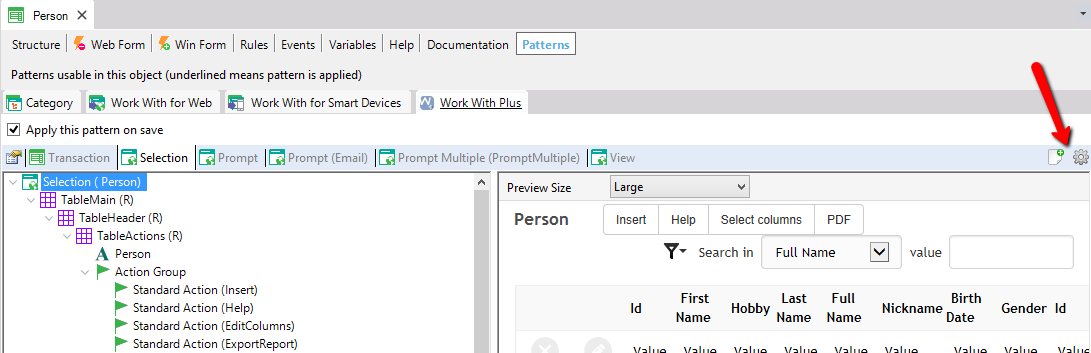
The configuration button is contextual, so, depending on which node is selected will be the options available on them.

The Web Panel instances also contain the configuration button, which contains the following options:
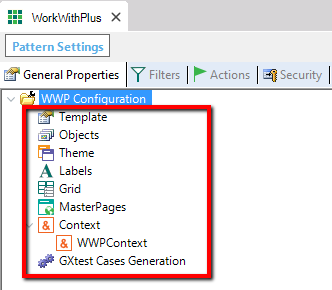
The WorkWithPlus Settings, which contains global properties, the transaction templates, and the Web Panel templates, has also an IDE:
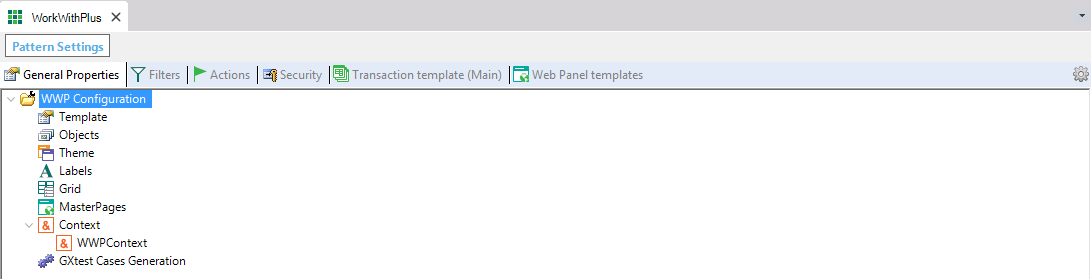
The options available are the same as the ones shown in the settings tree.
General Properties Tab groups the following nodes:
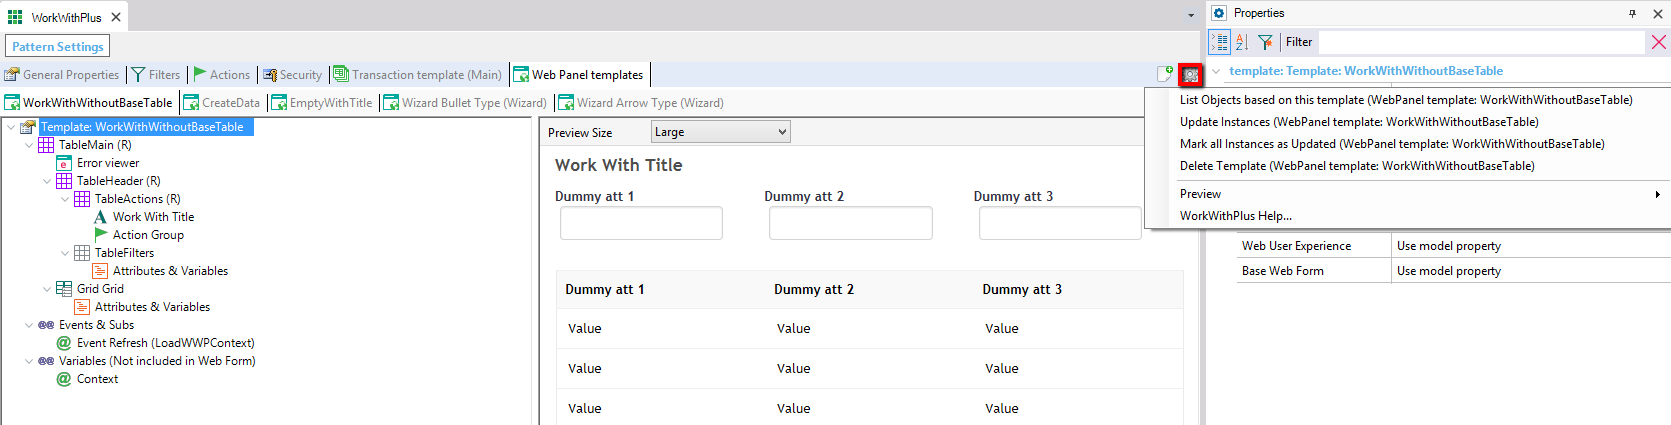
There are two contextual actions. So, depending on which tab is selected will be the options available on them. These actions are always located at the right top corner:
For example, when you are visualizing a Web Panel template, the options available for the action 'settings' are the following:
Using the unique WorkWithPlus IDE for GeneXus X Ev2 the option to dock or undock the real-time preview has been added.
If you click in the option to undock into separate window you will have real time preview undocked:
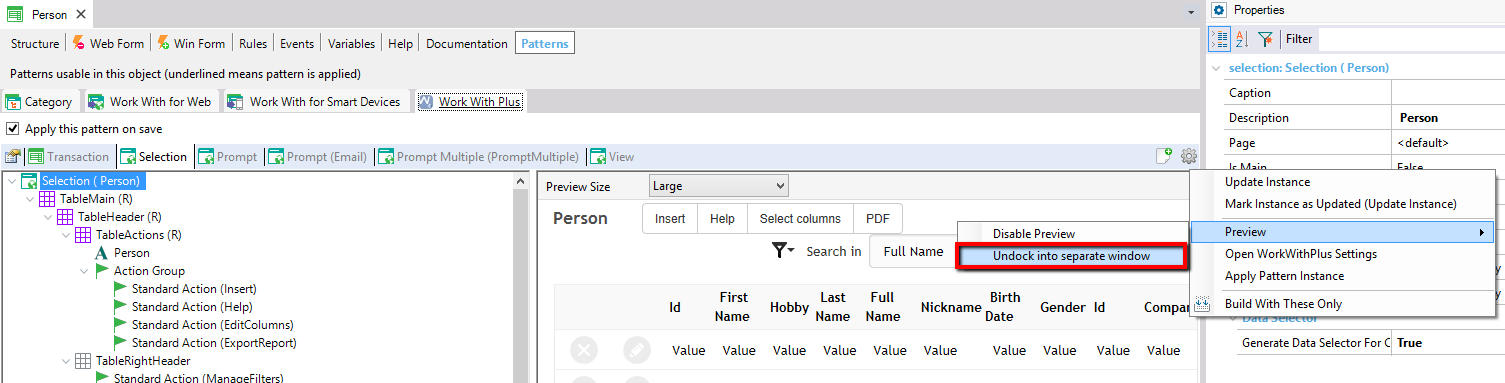
Then, you can also return to have the preview docked by clicking in the 'settings' icon, Preview -> Dock to main window.
The difference between the Preview of previous versions of WorkWithPlus and the new Preview is that with any change made in the instance the preview will be updated automatically and at real-time. So, if you have two monitors for example you could have in one window the IDE of GeneXus and in another one the Preview.
|