WorkWithPlus for Native Mobile can be applied to any Transaction, allowing the user to generate the full "work with" experience, including the creation of the list, view, data entry and prompts, and all the interactions between them.
The only requirement Transactions have to fulfill, is that they must be enabled as a Business Component
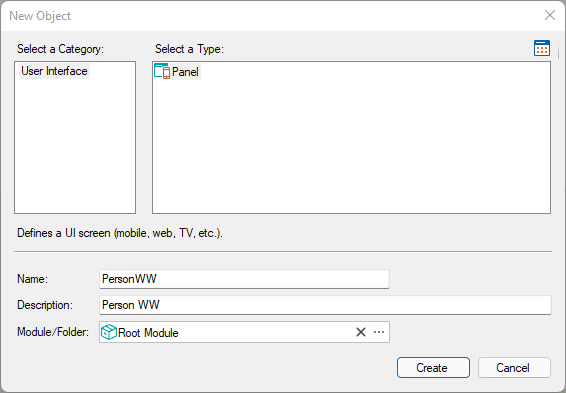
To enable WorkWithPlus for Native Mobile over a Transaction, you must start by creating the Base Panel, which will be the main entry for the "work with". Usually, this will be the "List" panel.
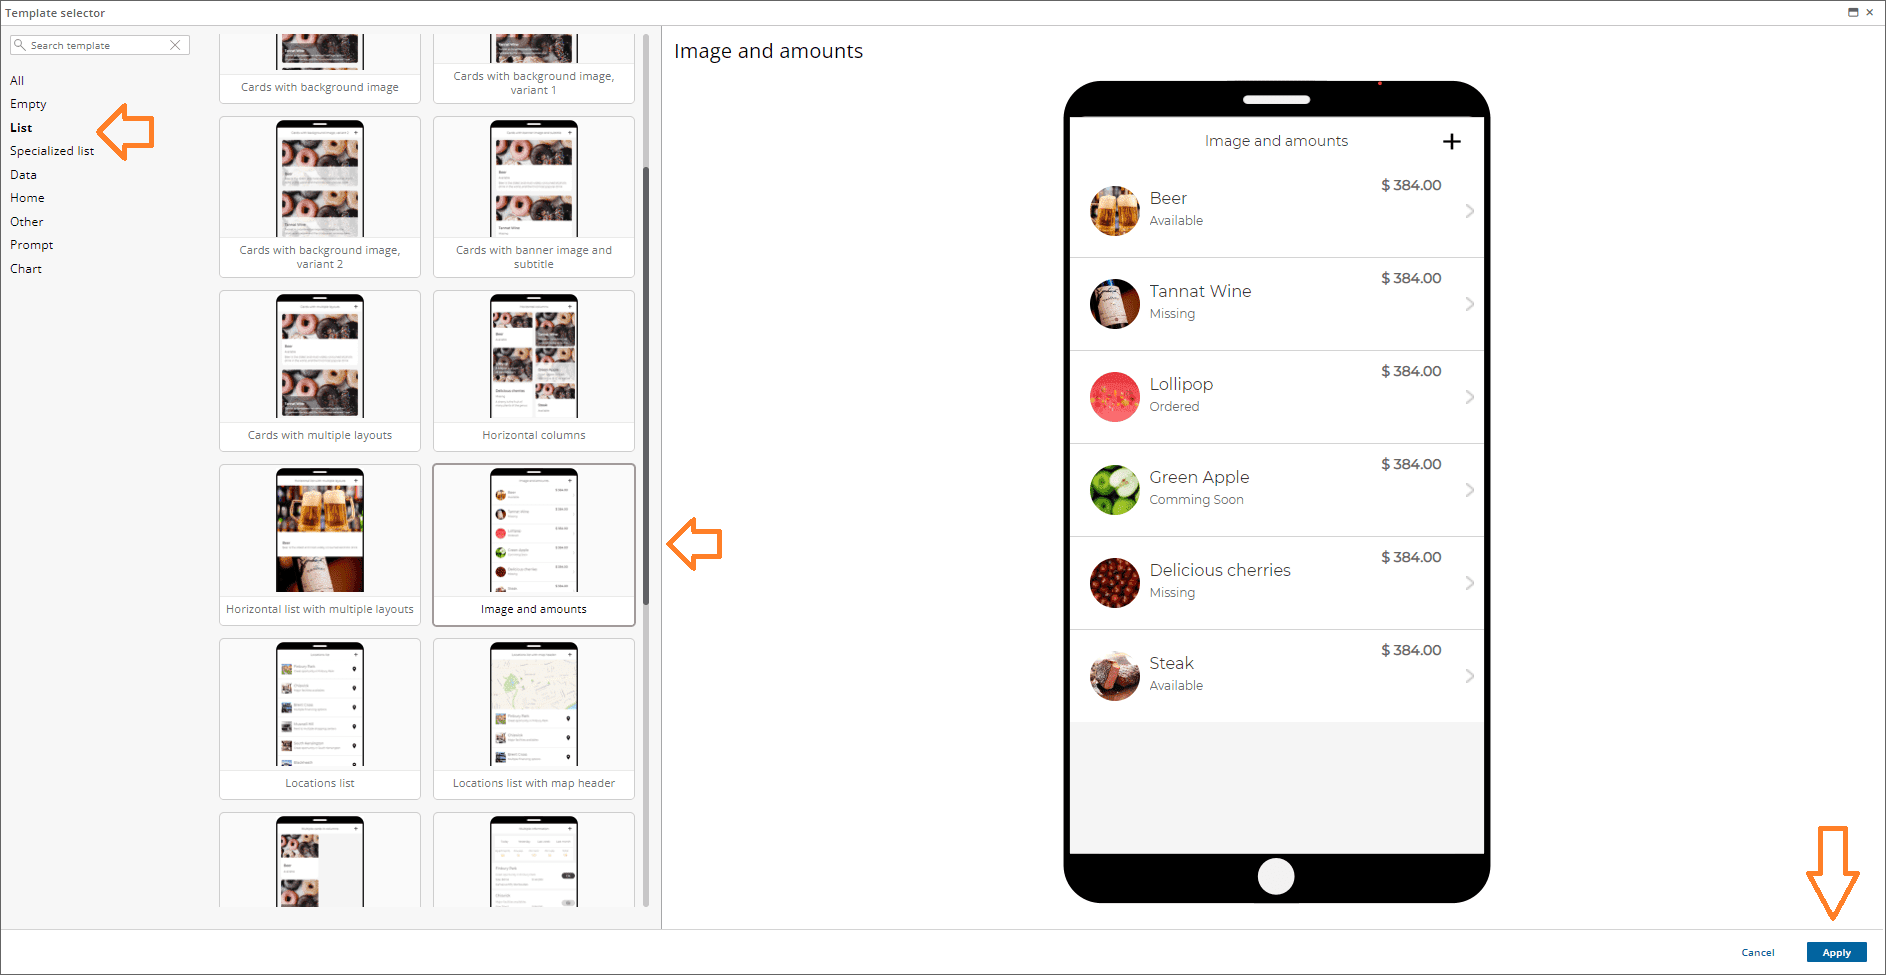
Once the base panel is created, go to the "Patterns/WorkWithPlus" tab, and choose to select a template (if not prompted automatically).
On the template selector, choose one of the "List" templates and continue.
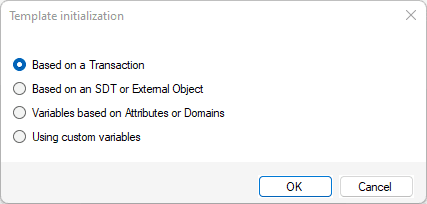
On the template initialization dialog, select "Based on a Transaction"
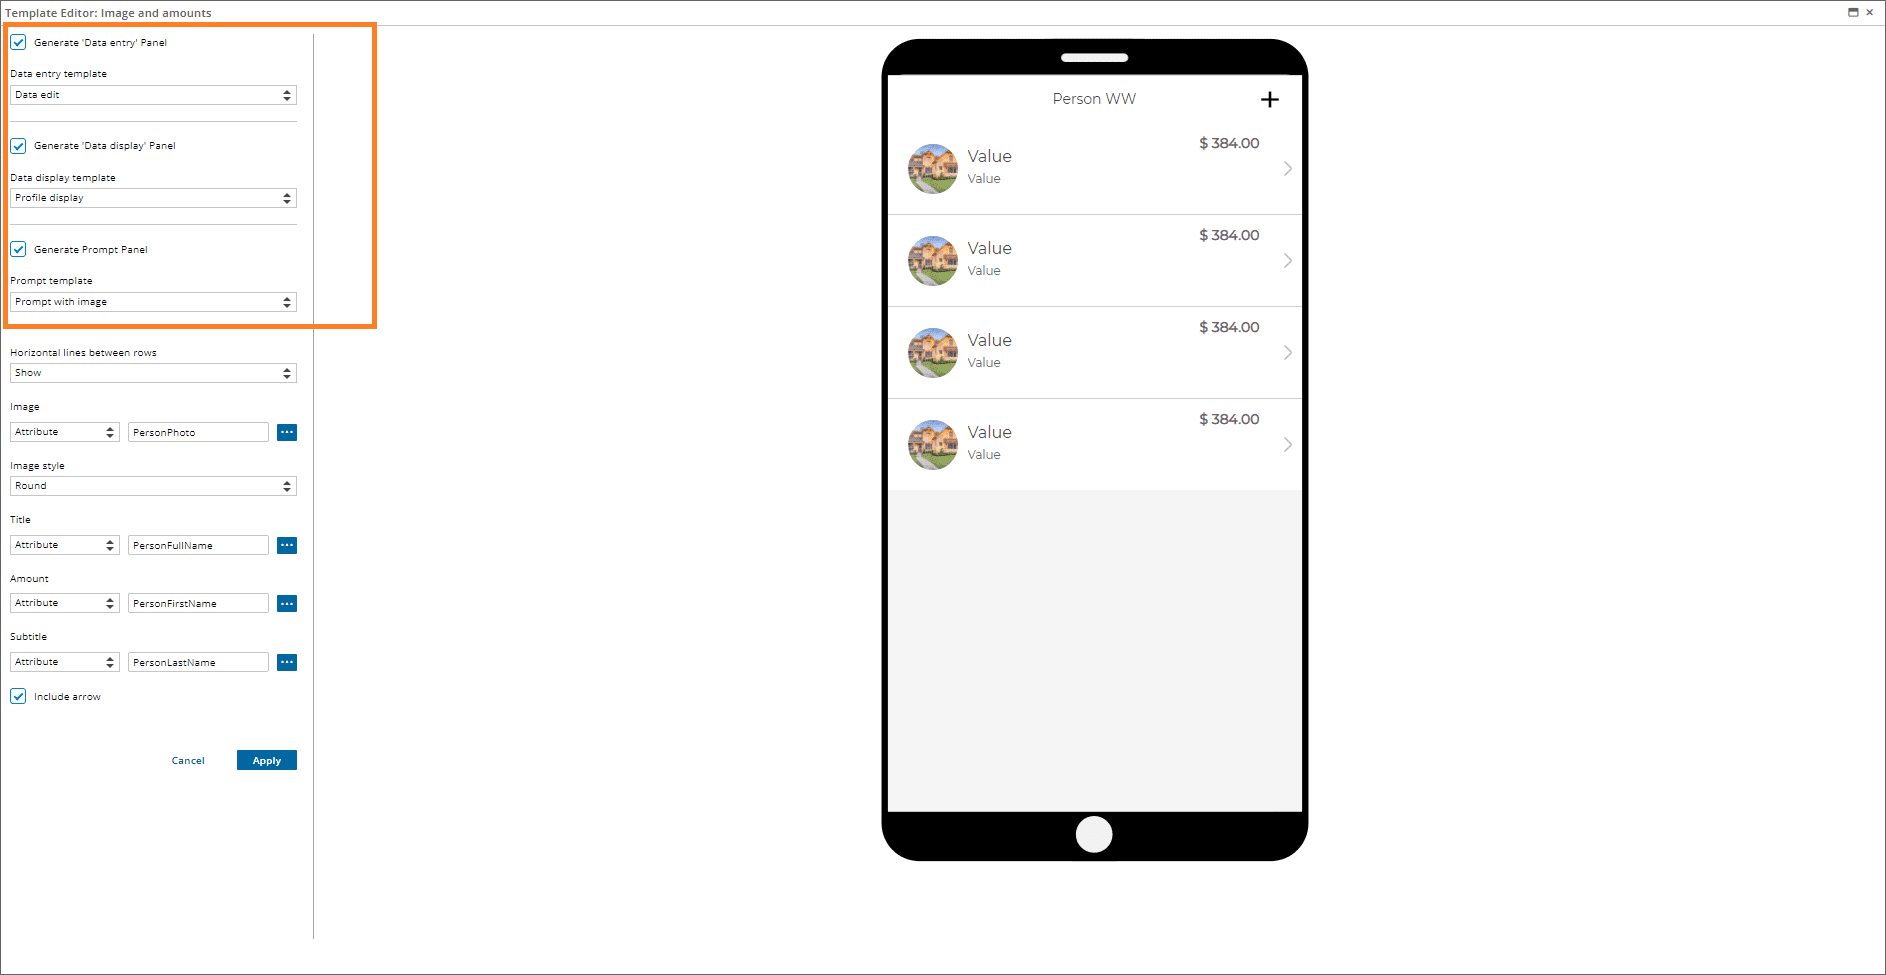
You will then be prompted with the classic "Template Editor" dialog, but this time, a new section will be displayed, where you will be able to select the template you want to apply on each of the "work with" sections:
- Data entry template: Choose the template used for the data entry (insert, update, delete)
- Data display template: Choose the template used for the "view", this includes the data display and all related tabs, like sublevels and foreign keys.
- Prompt template: Choose the template for the prompt associated with this transaction.
Once you confirm your choices and customizations, the WorkWithPlus instance will be created, containing all the generated sections:

Once saved, WorkWithPlus will generate all the associated Panels, which will lay below the Panel you selected as the Base Panel (in this example, Panel 'PersonWW'):
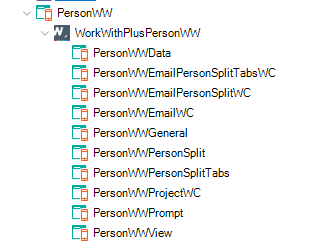
|