You can open this option from WorkWithPlus->> for BI ->> Manage Cubes in order to create, edit or remove a Cube.
The creation of a cube is explained in the following page: Create a new cube
Each time you create a cube, the design of the cube is saved so you will be able to edit it (add new attributes, new conditions, change the names or the data types)
You can edit a cube that was previously created, by selecting the cube name in the 'Edit Cube' option:
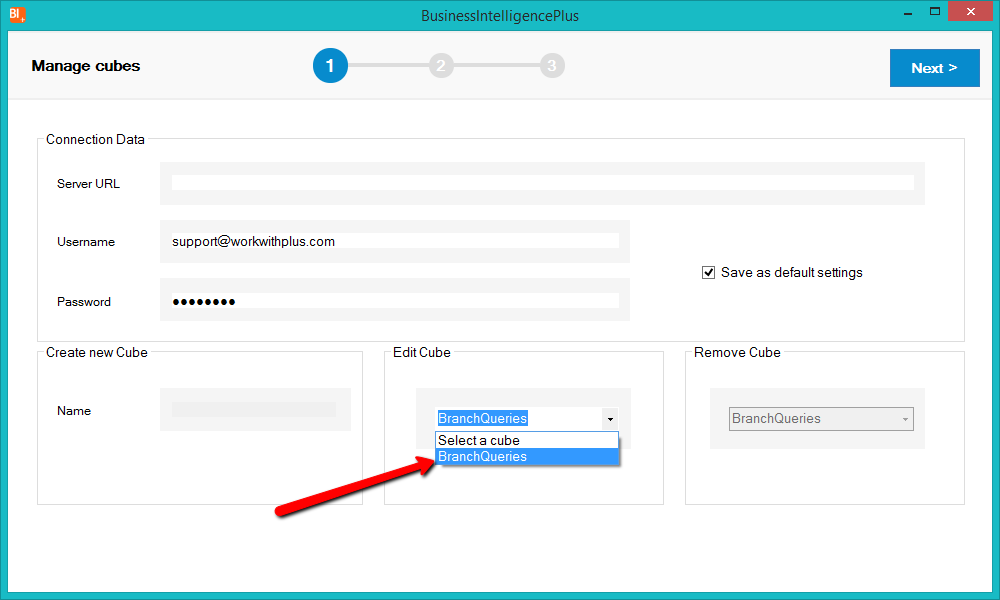
Then, you will be able to modify the following items:
- remove an attribute
- edit an attribute name and data type
- add new attributes
- edit conditions.
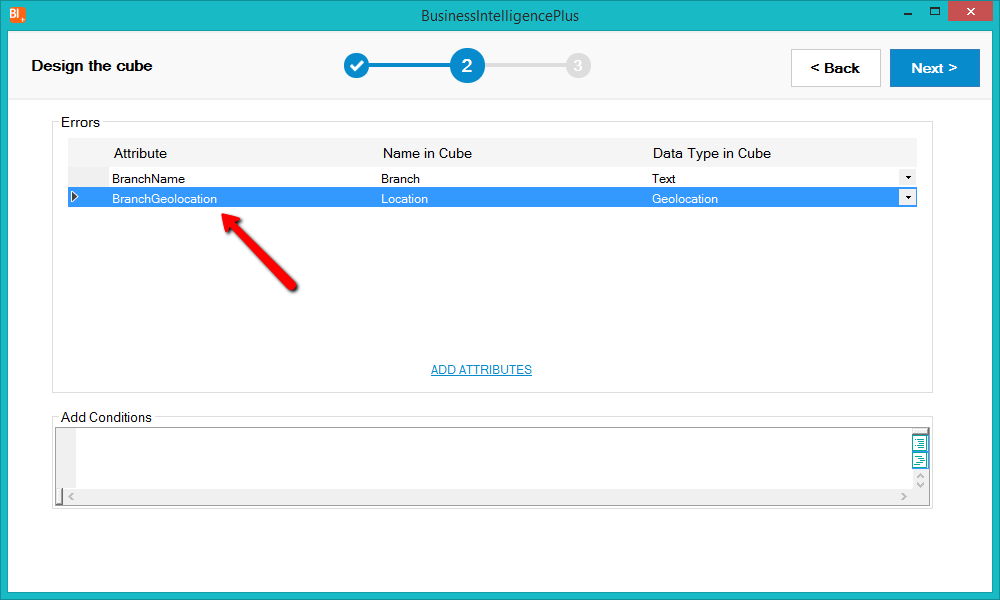
For example, add the attribute BranchGeolocation:
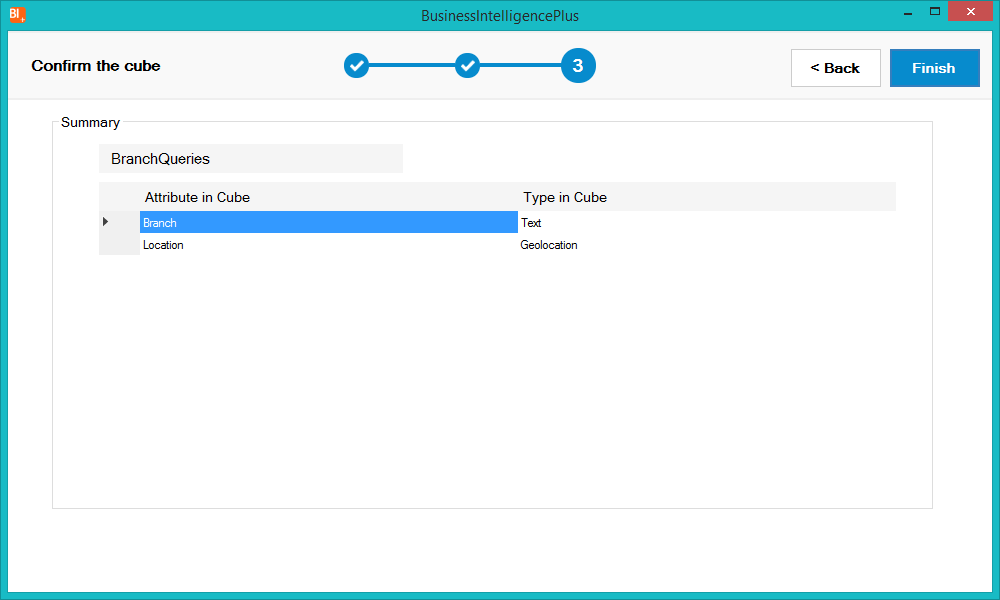
Once you edit the cube as desired, in the third step you will be able to visualize a summary of the edited cube:
When editing a cube, WorkWithPlus for BI is going to:
- Impact the new cube design into WorkWithPlus for BI database
- Import in the Knowledge Base the necessary objects to query the cube.
- Save the cube in the KB´s preferences so you will be able to edit it later
You should run the BusinessIntelligencePlus<CUBE_NAME>UploadData procedure in order to load the edited cube.
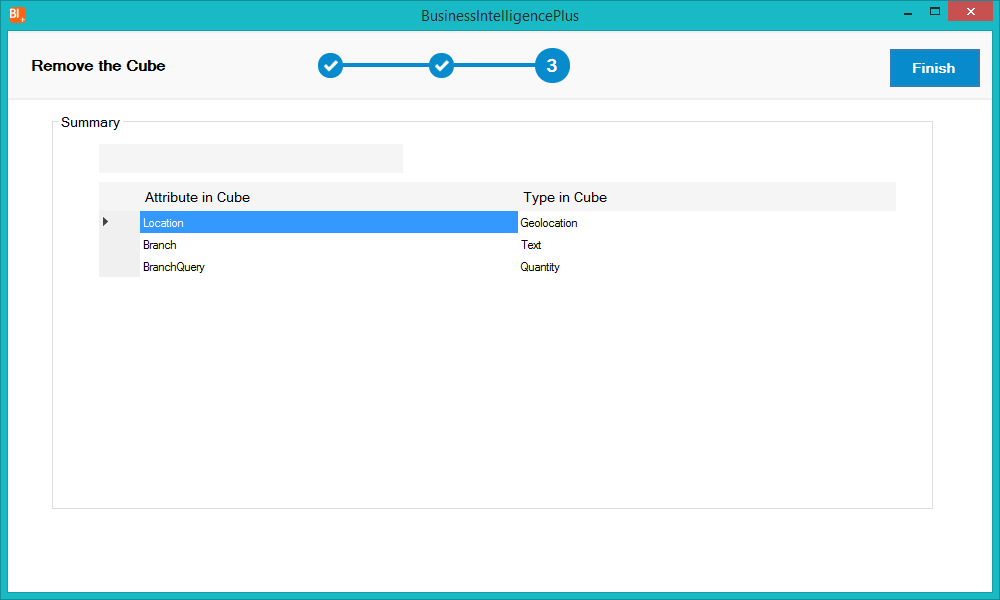
If you want to remove a cube you need to select the cube which you want to delete in the 'Remove Cube' option.
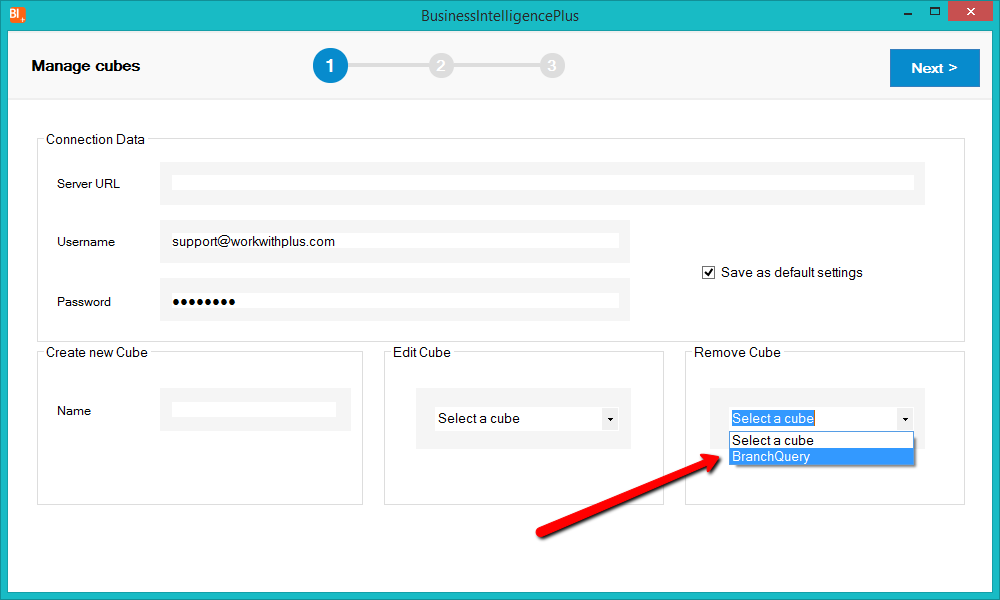
Once you finish, the cube will be deleted:
When removing the cube, WorkWithPlus for BI is going to:
- Remove the data from the WorkWithPlus for BI database
- Remove the cube structure
- Remove the cube from the KB´s preferences
|