|
WorkWithPlus for BI provides a procedure and an External Object with the necessary methods to upload the new data of the application to your cube. According to your business, you can define when this procedure is going to be executed in order to upload new data.
The procedure "BusinessIntelligencePlus<CUBE_NAME>UploadData" has sample code so you can follow it to load the data.
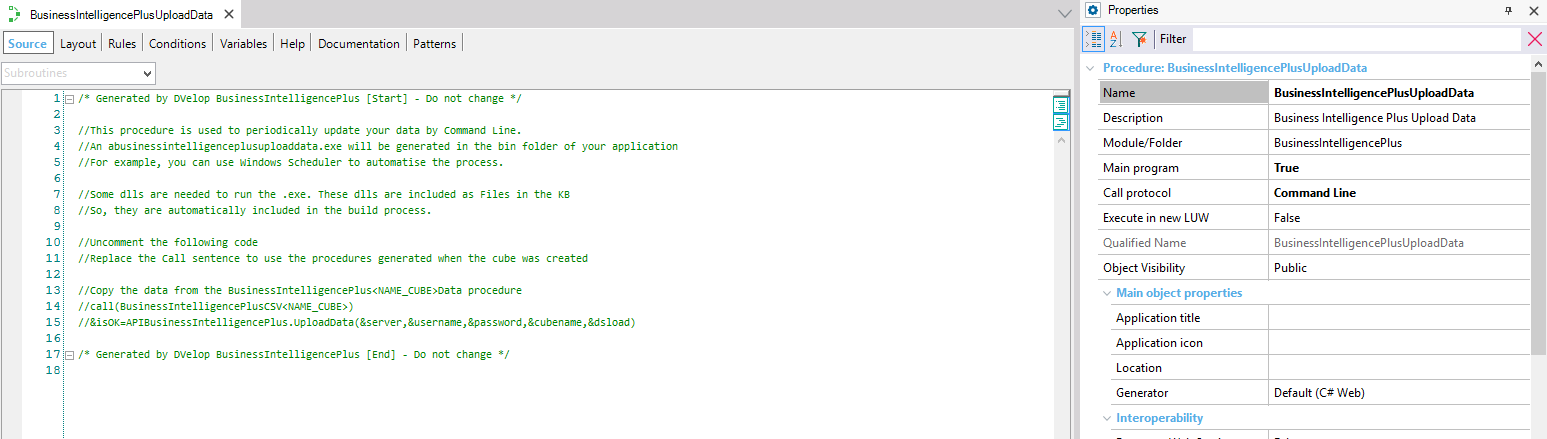
As you can see this procedure has the 'Call Protocol' property set to "Command line", so you can create a Windows Scheduled Task or script to update automatically the data of the application as often as needed.
The steps to update the data of your cubes are the following:
Open your BusinessIntelligencePlus<CUBE_NAME>Data procedure and copy the data of your cube in the sample code. For example:
&ds=1111
&dsload=1112
&username=admin
&password=****
&server="https://services.bip.dvelopsoftware.com/"
&proxyip=''
&proxyport=''
&cubename='Sales'
Before updating new data, you may need to remove the current data from the cube. In order to do it, you can use the methods "EmptyCube" and "RemoveData" from the UtilsBusinessIntelligencePlus external object.
The method "EmptyCube" receives by parameter the desired cube's id and it removes all its data. The method "RemoveData" receives by parameter the desired cube's id and specific load that you want to remove.
For example:
&isRemoved=UtilsBusinessIntelligencePlus.EmptyCube(&server,&username,&password,&proxyip,&proxyport,&dsload)
You should generate the CSV with your current data by running the BusinessIntelligencePlusCSV<CUBE_NAME>) procedure as follows:
Call(BusinessIntelligencePlusCSVSales)
Once the CSV file is generated, you should upload it to the cube, by using the "UploadData" method:
&isOK=UtilsBusinessIntelligencePlus.UploadData(&server,&username,&password,&proxyip,&proxyport,'',&cubename,&dsload)
If the load is successful, this method returns an identification of the load, so you can store it and then remove that specific load using the RemoveData method (instead of removing all the cube´s data)
You can run the "BusinessIntelligencePlusUploadData" from GeneXus's IDE by doing right-click over it --> Run.
If you want to run this procedure by command line, follow the instructions below:
The .java abusinessintelligenceplusuploaddata.java will be generated in the web folder of your application
Some jars are needed to run the procedure, these jars are included as Files in the KB and they are automatically copied to the \web\drivers folder.
So, copy and paste the following jars from \web\drivers to the \web folder.

Comments:
- These jars are included as files in the KB so they will be automatically included in the deploy of it (for example in the webapp Tomcat folder)
- They are automatically included in the Classpath of the Generator:
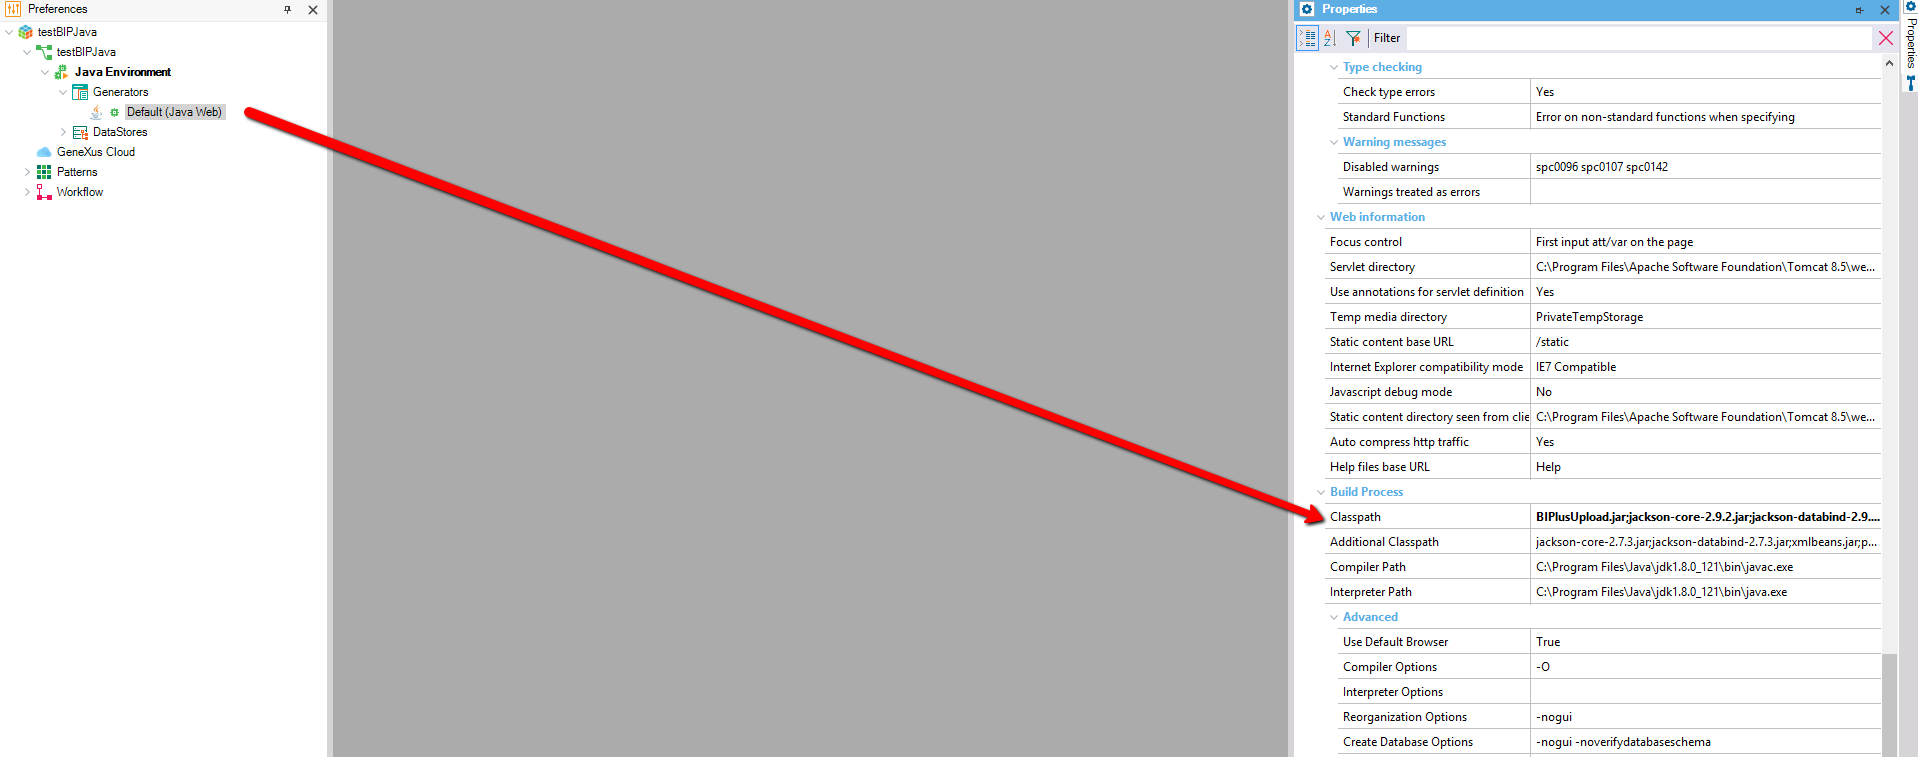
Build the "BusinessIntelligencePlusUploadData" procedure and replace the tag <NAME_KB> with the name (or Package Name) of your KB:
java -cp "java -cp "gxclassR.jar; gxcommon.jar; gxcryptocommon.jar;gxmail.jar;javapns.jar;gxsearch.jar;gxoffice.jar;
 C:\Program Files\Apache Software Foundation\Tomcat 9.0\lib\servlet-api.jar;.\drivers\BIPlusUpload.jar;
.\drivers\httpclient-4.5.4.jar;.\drivers\httpcore-4.4.7.jar;.\drivers\httpmime-4.5.4.jar; .\drivers\jackson-annotations-2.9.3.jar;.\drivers\jackson-core-2.9.2.jar;
.\drivers\jackson-databind-2.9.3.jar;.\drivers\java-jwt-3.4.0.jar;.\drivers\jt400.jar;.\drivers\jtds-1.2.jar;.\drivers\mysql-connector-java-5.1.47.jar;.\drivers\ojdbc6.jar;
.\drivers\postgresql-42.2.5.jre6.jar;.\drivers\sqlitejdbc-v056.jar;bcprov-jdk15on-1.60.jar;bcpkix-jdk15on-1.60.jar;xmlsec-2.1.2.jar;
jdom-2.0.0.jar;commons-logging-1.0.4.jar;commons-io-2.2.jar;xml-apis-1.4.01.jar;activation-1.1.jar;gxgeospatial.jar; gxexternalproviders.jar;.
;jackson-annotations-2.9.8.jar;javax.ws.rs-api-2.0.1.jar;simple-xml-2.7.1.jar; jackson-core-2.9.8.jar;jersey-media-json-jackson-2.22.2.jar;xercesImpl.jar;
lucene-core-2.2.0.jar;itext-2.1.7.jar;commons-lang-2.4.jar;commons-codec-1.11.jar;joda-time-2.8.2.jar;spatial4j-0.6.jar;jts-1.14.jar;
jtsio-1.14;noggit-0.5.jar;GeographicLib-Java-1.49.jar;jackson-databind-2.9.8.jar;xmlbeans.jar;poi.jar;poi-ooxml.jar;
poi-ooxml-schemas.jar;commons-collections4-4.1.jar;wss4j-1.6.19.jar;xalan-2.7.2.jar;serializer-2.7.2.jar;slf4j-api-1.7.7.jar;slf4j-nop-1.7.7.jar;
log4j-core-2.11.2.jar;log4j-api-2.11.2.jar;javax.mail-1.6.2.jar;.\modules\GeneXus.jar;.\services\GXWebSocket.jar; BIPlusUpload.jar;java-jwt-3.4.0.jar;
jackson-core-2.9.2.jar;jackson-databind-2.9.3.jar;jackson-annotations-2.9.3.jar;httpclient-4.5.4.jar;httpcore-4.4.7.jar; httpmime-4.5.4.jar"
com.<KB_NAME>.abusinessintelligenceplusuploaddata
To run the .java by Command Line, open a Command Prompt in the web folder of your application and copy the previous line:
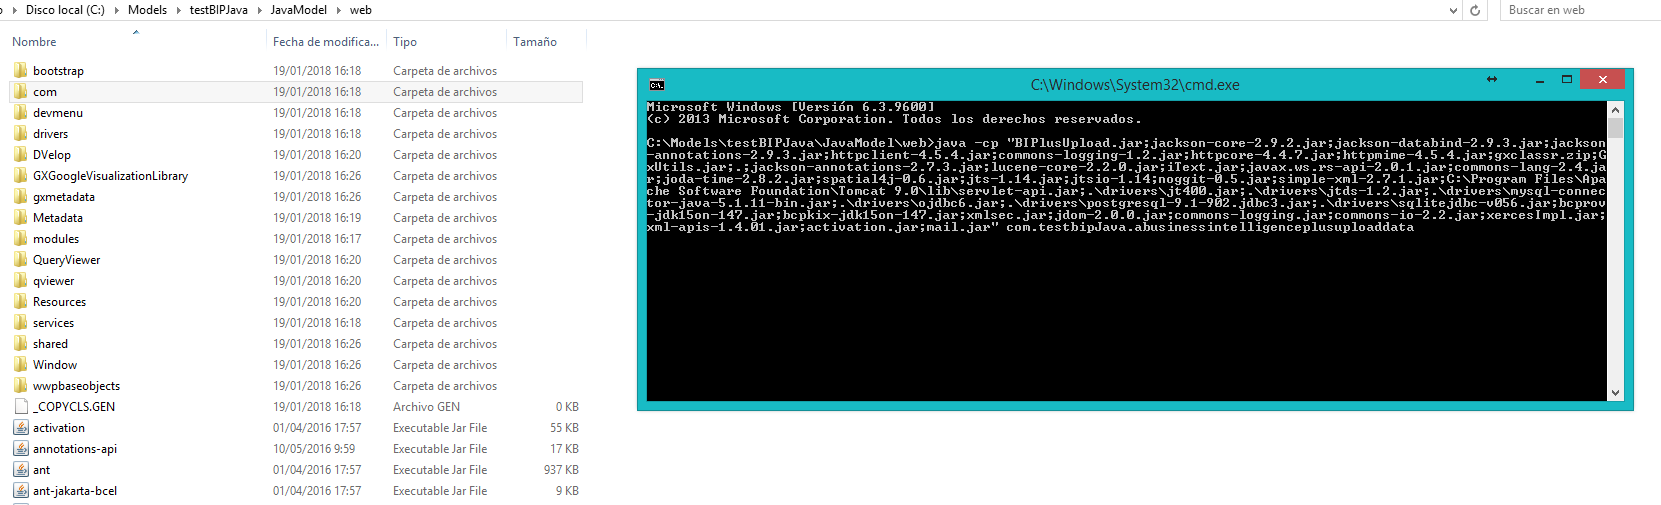
Comments:
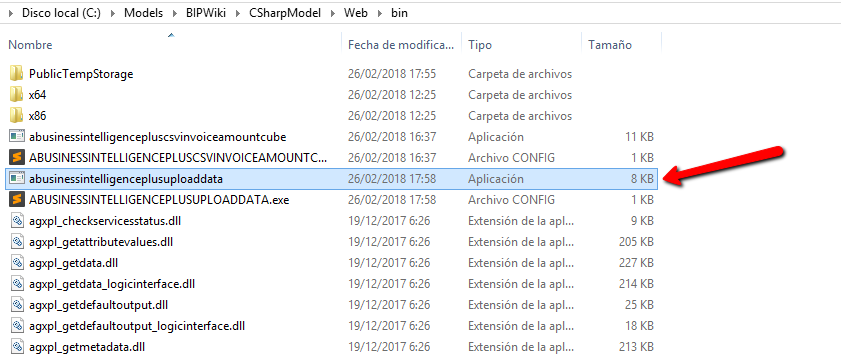
An executable file called abusinessintelligenceplusuploaddata.exe will be generated in the bin folder of your application.
Some dlls are needed to run the .exe. These dlls are included as Files in the KB. So, they are automatically included in the build process.
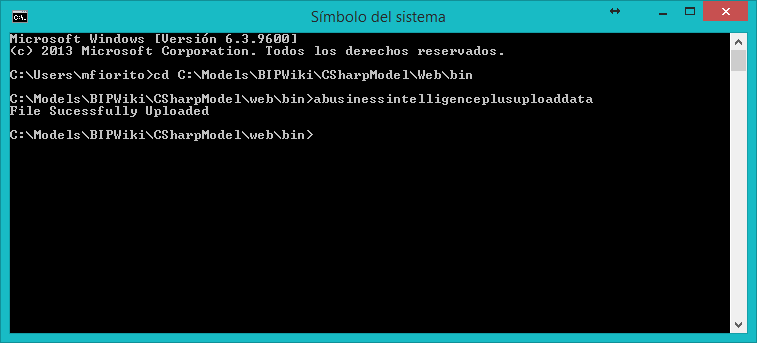
Build the "BusinessIntelligencePlusUploadData" procedure and execute in the Command Prompt the generated .exe located in the bin folder of your application:
You may need to automate the process and run the "BusinessIntelligencePlusUploadData" procedure periodically. There are many ways to do it.
You can see an example in the following link: Automate the data upload
|