WorkWithPlus for VideoCall Installation

In order to install WorkWithPlus for VideoCall you have to follow the steps below: 

Start by running the WorkWithPlus for VideoCall setup program.
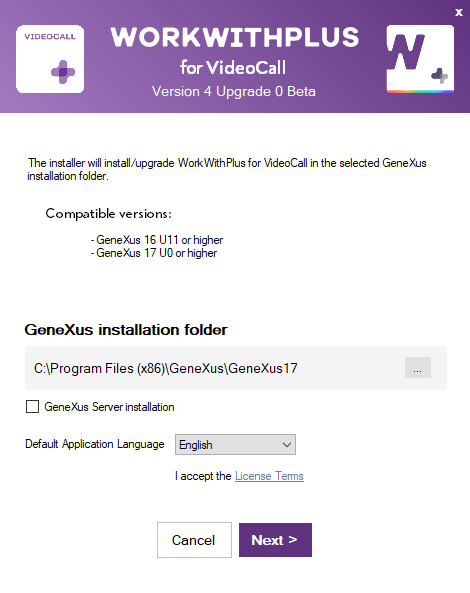
The WorkWithPlus for VideoCall installer's initial setup screen, under the purple 'WORKWITHPLUS for VideoCall, Version 4 Upgrade 0 Beta' header, states compatible versions GeneXus 16 U11 or higher and GeneXus 17 U0 or higher. It shows a GeneXus installation folder field set to C:\Program Files (x86)\GeneXus\GeneXus17, an unchecked 'GeneXus Server installation' checkbox, a Default Application Language dropdown set to English, an 'I accept the License Terms' link, and Cancel/Next buttons.

Enter the GeneXus installation folder where WorkWithPlus for VideoCall will be installed.
If the installation is for GeneXus Server, you must check the option 'GeneXus Server installation'.

Press Next

The installation is complete:
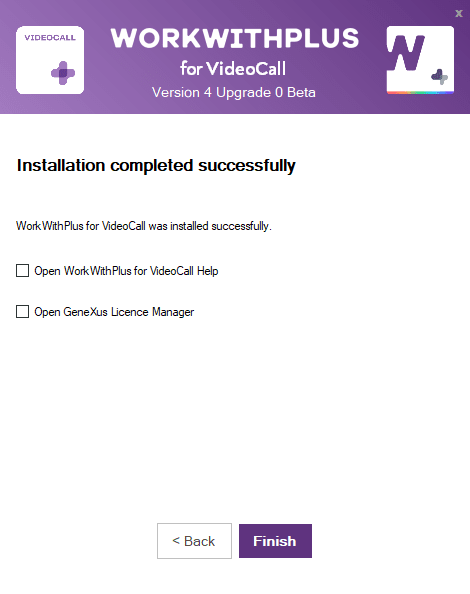
The WorkWithPlus for VideoCall installer wizard displays a purple header labeled 'WORKWITHPLUS for VideoCall, Version 4 Upgrade 0 Beta' and a completion screen reading 'Installation completed successfully' with the message 'WorkWithPlus for VideoCall was installed successfully.' Two unchecked checkboxes offer 'Open WorkWithPlus for VideoCall Help' and 'Open GeneXus Licence Manager', with Back and Finish buttons at the bottom.

After the installation is complete, you can proceed to request the product license. Please follow the License section for details.