One of the main differences between WorkWithPlus for Web and WorkWithPlus for Native Mobile is how you apply WorkWithPlus to a Transaction.
Open the Transaction, go to the 'Patterns' Tab, and select 'WorkWithPlus'
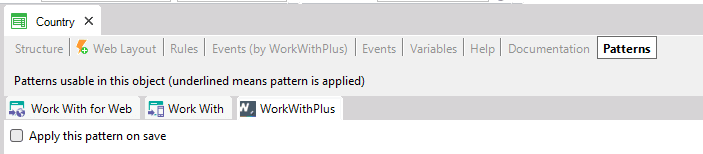
WorkWithPlus for Native Mobile cannot be applied directly in the Transaction's 'Patterns' Tab.
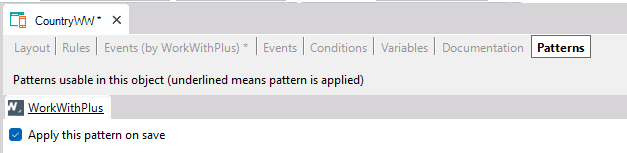
To apply WorkWithPlus to a Transaction in Native Mobile, you must first create a Panel, and apply a 'List template', based on a Transaction.
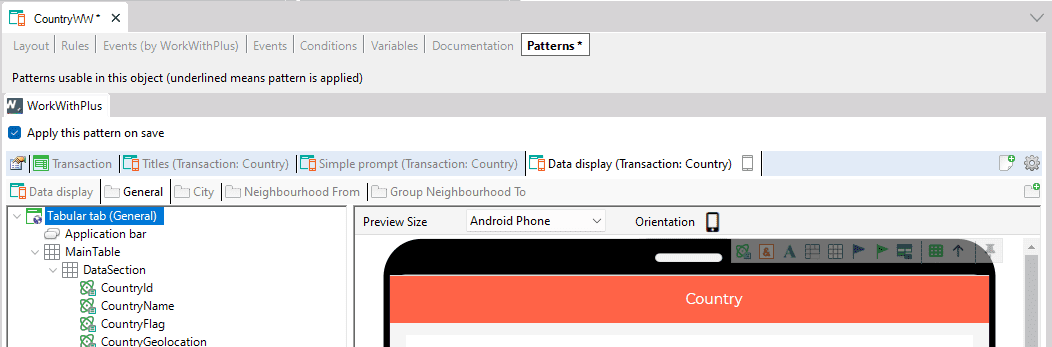
To do this, create a new Panel (e.g. 'CountryWW'), go to the Panel's 'Patterns' Tab, and select 'WorkWithPlus'
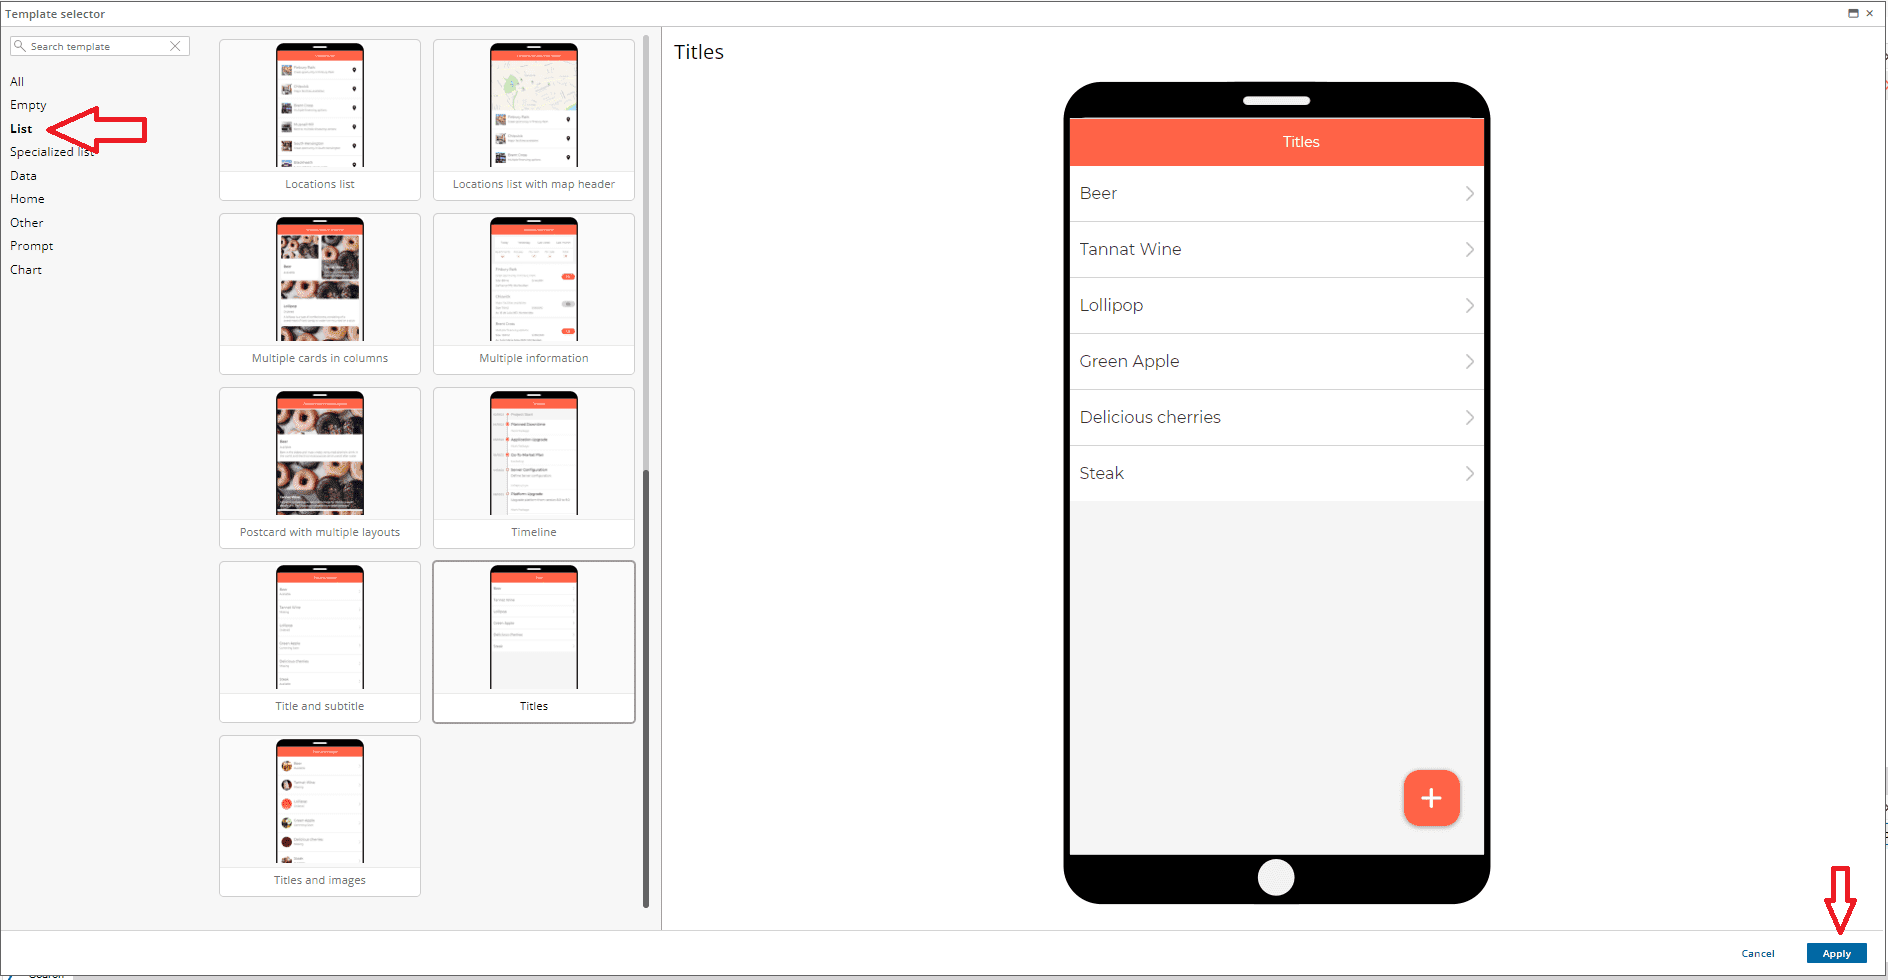
Once the 'Template selector' is opened, select the 'List' category, and choose one of the templates.
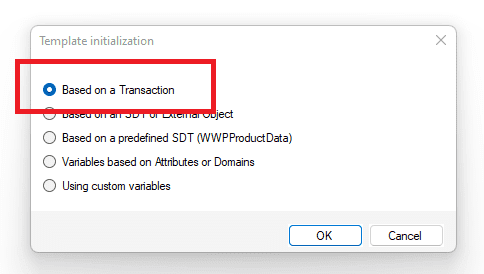
You will be asked how you want to initialize the template: Select 'Based on a Transaction', and continue, and then select the Transaction you want to create the Work With.
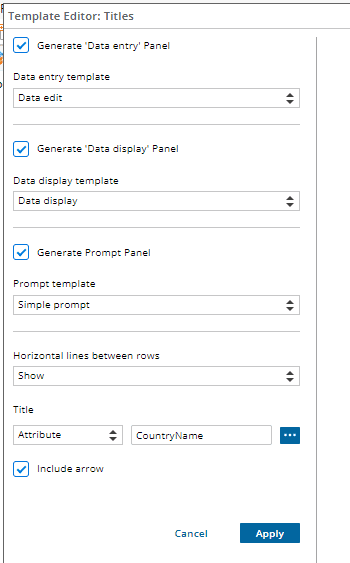
After you choose a Transaction, you can select which components of the 'Work With' you want to generate:
Finally, the WorkWithPlus instance of your initial Panel object will contain all the nodes associated to the Transaction's 'Work With'.
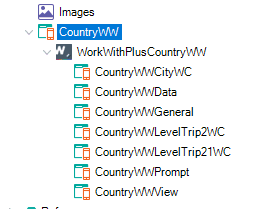
You can check all the generated Panels in the GeneXus 'KB Explorer', under the WorkWithPlus instance attached to your initial Panel.
Important: Please notice, the initial Panel, the one you applied WorkWithPlus over (in our example, 'CountryWW'), corresponds to the 'List' of the 'Work With', NOT the Transaction. Therefore, any code you write in the 'Source', will only affect the 'List' Panel. To edit the Panel associated to the 'Transaction' node, simply double-click the node. For more details check: Transaction Node in Native Mobile
|