Once the Search module is enabled in the KB from Design System Wizard, you need to configure which transaction records you want to include in the Search.
In order to do so, there is a property named 'Include in Master Page Search' in each transaction instance:
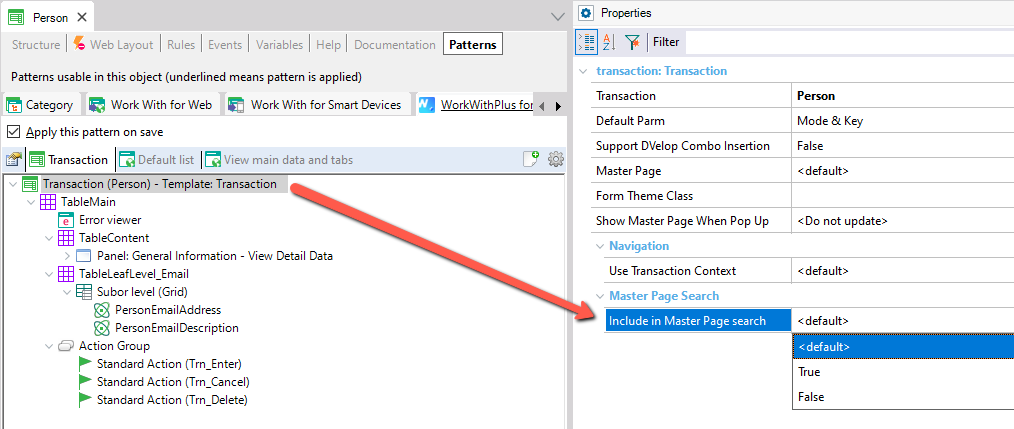
When you enable search for the transaction, new properties are displayed to be able to configure it.
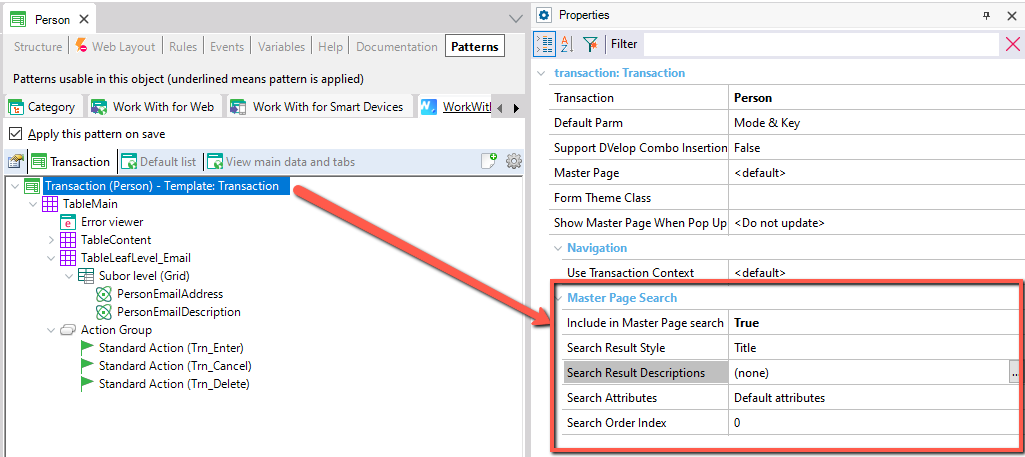
In this property, you will configure the style of the search results for this entity. By default WorkWithPlus for Web provides 5 styles:
- Title
- Title and subtitle
- Title and image
- Title and icon image
- Title, subtitle, and icon image
If you want to create new styles, or modify the existing ones, follow this Create/Modify Search Styles
Depending on which style has been selected, it is the number of description fields that will be displayed, it can vary from 1 to 3 attributes, the first being the title, and the second field that is enabled if there is more than 1 attribute in the style, corresponds to the one mentioned in the style and in the order shown.
Examples:
Style: Title and subtitle
Search Result Descriptions: Title
Search Result Descriptions 2: Subtitle
Style: Title and image
Search Result Descriptions: Title
Search Result Descriptions 2: Image
Style: Title, subtitle, and icon image
Search Result Descriptions: Title
Search Result Descriptions 2: Subtitle
Search Result Descriptions 3: Icon image
Attributes to be included in the search condition. If blank, the selected description attributes will be included.
The position in which the results of this Transaction will be shown. The results of Transactions with the highest order will appear at the top.
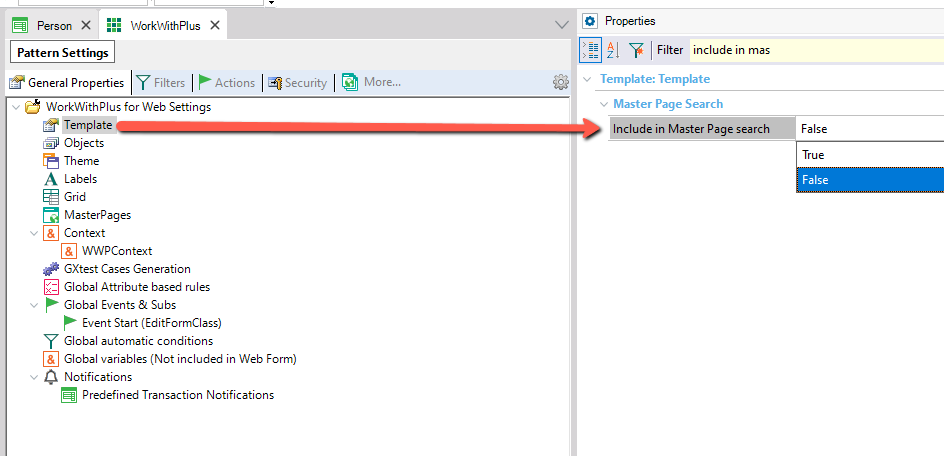
Note: The '<default>' value of the property 'Include Master Page Search' is taken from WorkWithPlus Settings> Template> 'Include in Master Page search'. So, if you want to include all your transactions records in the Search (or most of them), you can enable it here:
|