The possibility to emulate a Wizard in a Transaction or Web Panel (for create, update or display data) was added. In this case, all the steps will be part of the same WebForm, and by clicking in the next button or in the step that you want to navigate, it will display only the information of that step. In the instance, it will be displayed similar to the 'tabs' node with its children. In the instance you will visualize a new node named 'Wizard' which will contain the steps as children of that node.
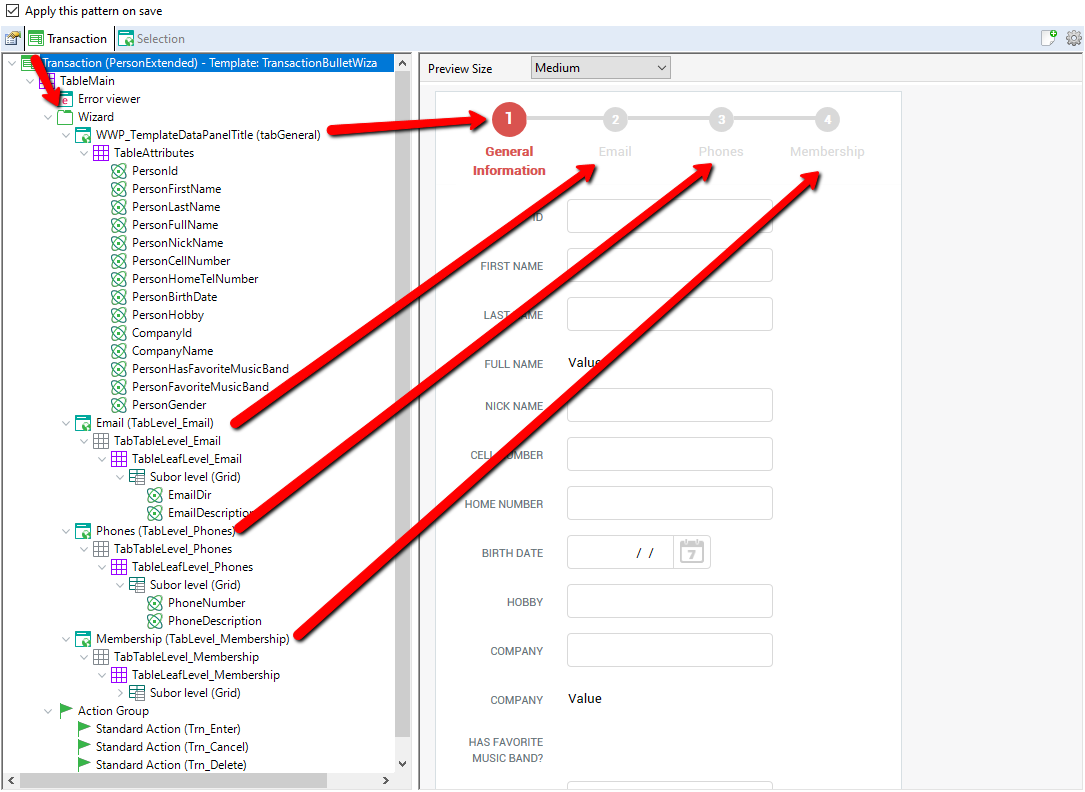
In order to create a 'Simple Wizard Layout', you need to select the template 'Wizard arrow type' or 'Wizard bullet type' that is inside the category 'create, update and display data'. If you do this in a transaction, it will add by default one step for the plain information and then one additional step for each level of the transaction.
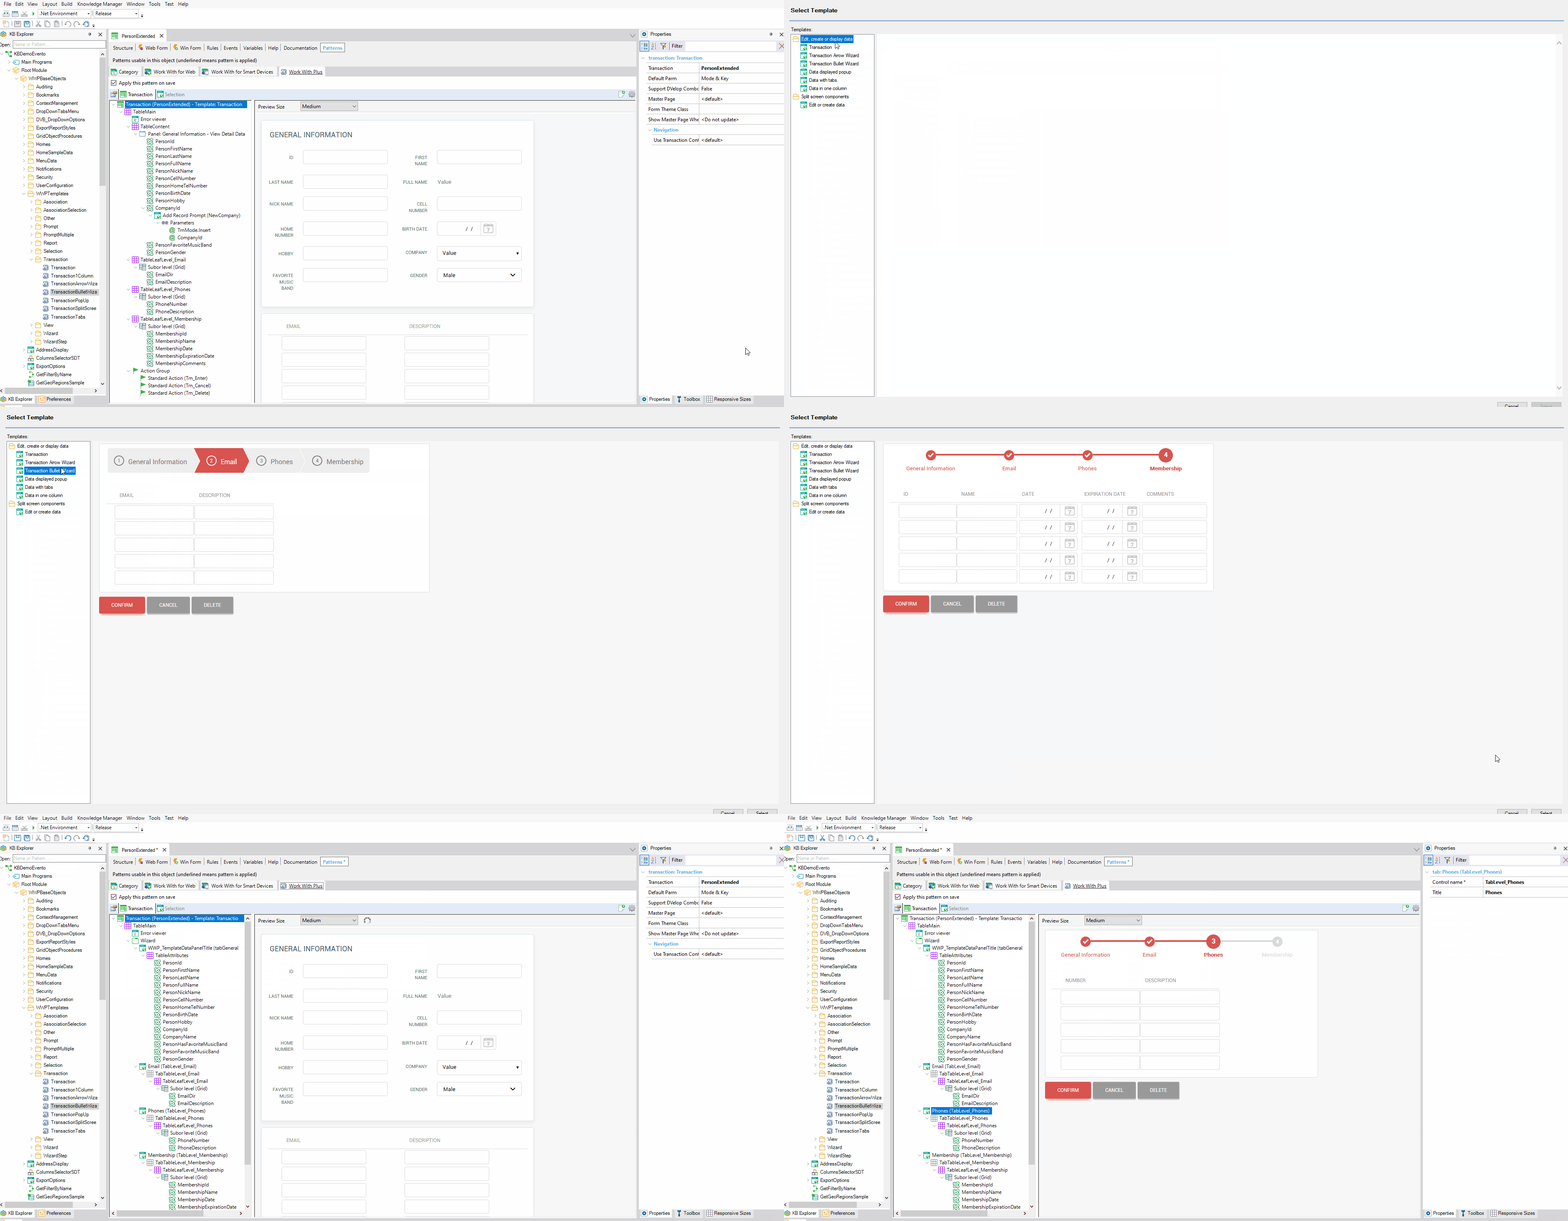
In WorkWithPlus Settings -> Template node, the following properties were created, related to this feature:
- Allow Step Title Click
Specifies whether the wizard will allow to click in some specific step to go directly to that step.
-
Arrow Selected-UnSelected Image
Specifies the image that will be used when creating a simple wizard of type 'Arrow', for separating the selected step with an unselected step right next to it.
-
Arrow Unselected-Selected Image
Specifies the image that will be used when creating a simple wizard of type 'Arrow', for separating an unselected step with the selected step right next to it.
|