|
The customer wants to create a new screen in order to add a new person and associate projects that the person will manage in the company. To achieve this requirement, we'll apply a Wizard template within a web panel.
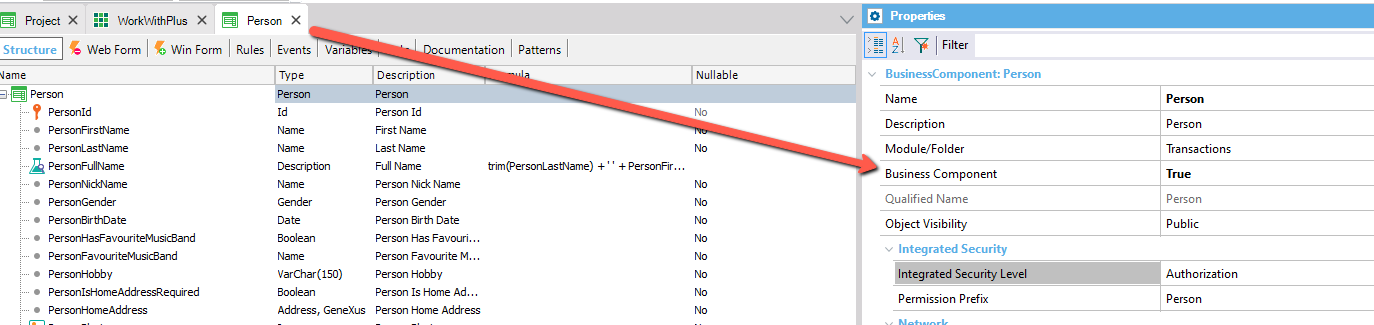
In order to create this panel, we should set the Person transaction as a Business Component:
So, create a new web panel called "WPWizardPerson" and apply the "Wizard Bullet" template to it:
In this step, you can add a variable based on Person transaction and select the items: PersonFirstName, PersonLastName, PersonNickName, PersonGender, PersonHobby, and PersonBirthDate.
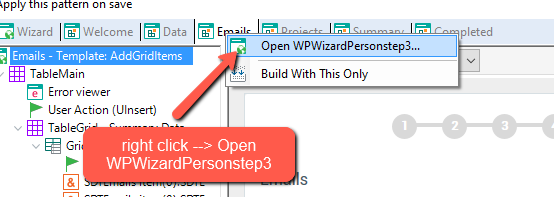
Associate emails to the Person. For this step, it is recommended to use the step template "Add Grid Items" and to create an SDT which contains a collection of emails.
Save the instance and open the generated object:
Then, you should program the "Add" User Action as follows:
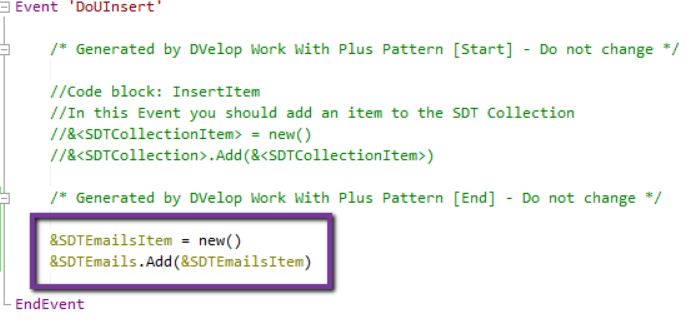
The variable &SDTEmailsItem should be defined of type SDEmails.SDTEmailsItem.
Select Projects to the Person.
Add a summary in order to automatically show the fulfilled data within the wizard.
Add the final step to show the user that the wizard was properly executed.
Note: In this training, you will not add the code/behavior that saves the data at the final step, because it is just an example (the idea is that you understand how to create wizards and its steps). If you are developing a real wizard you would have to add this code in the event "Next" of the final step, using the variable based on the SDT that WorkWithPlus created and loaded automatically.
After creating the wizard, add the new web panel into the application menu so you can easily access it from the sidebar menu. To achieve this, press Ctrl+O and look for the "MenuOptionsData" data provider, and modify it as follows:
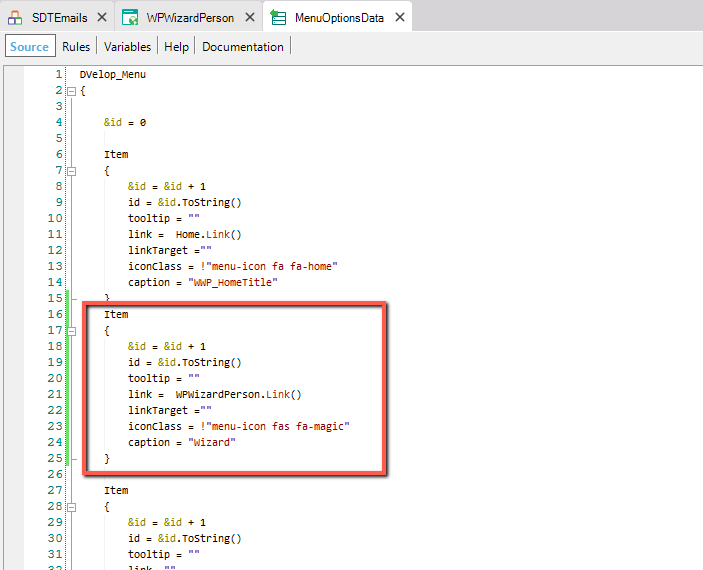
If you want to read more information about the menu definition, you can check the following link: Sidebar Menu
Run the application in order to test it at runtime (remember that the final step won’t save this new person unless you add the code to do so).
Well done! You should now be able to:
- Create a web panel by using the Wizard template
- Add different steps to your wizard
- Add a Web Panel in your application menu
|