WorkWithPlus pattern changes the meaning of instance nodes.
In WorkWith pattern, each node represents some aspect of configuration of the objects that will be generated. For instance, you can specify which filters add or which objects will be displayed.
While in WorkWithPlus pattern, each node not only represents some aspect of configuration but it is also related to in which part of the form the element or functionality will be displayed.
In consequence, in the instance each object generated (Transaction, Selection, View, etc.) has as a primary node an HTML table which contains all the elements or referred controls of the object. This table (as well as all of them) contains a series of properties that let the user customize certain things like the way the elements inside it will be disposed, the look & feel of the table, among others. The elements inside a table will be drawn from left to right and from top to bottom.
Let's analyze WorkWithPlus instance of Person transaction.
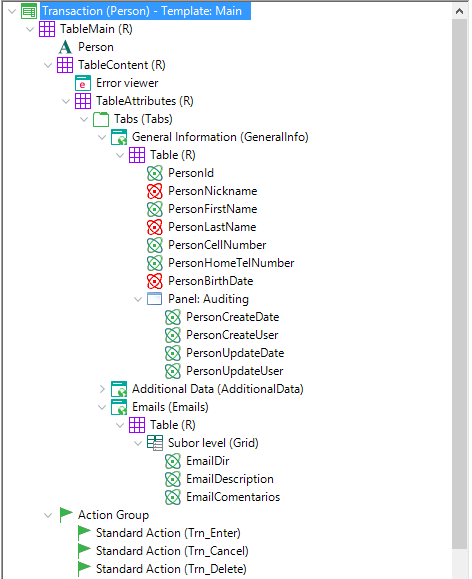
Here we can visualize the main table which contains the entire transaction form. Inside the table we can find two items:
- The first table contains two elements: an Error Viewer control and a table which displays some transaction attributes with their title descriptions.
- The Action Group contains actions such as Enter, Cancel and Delete.
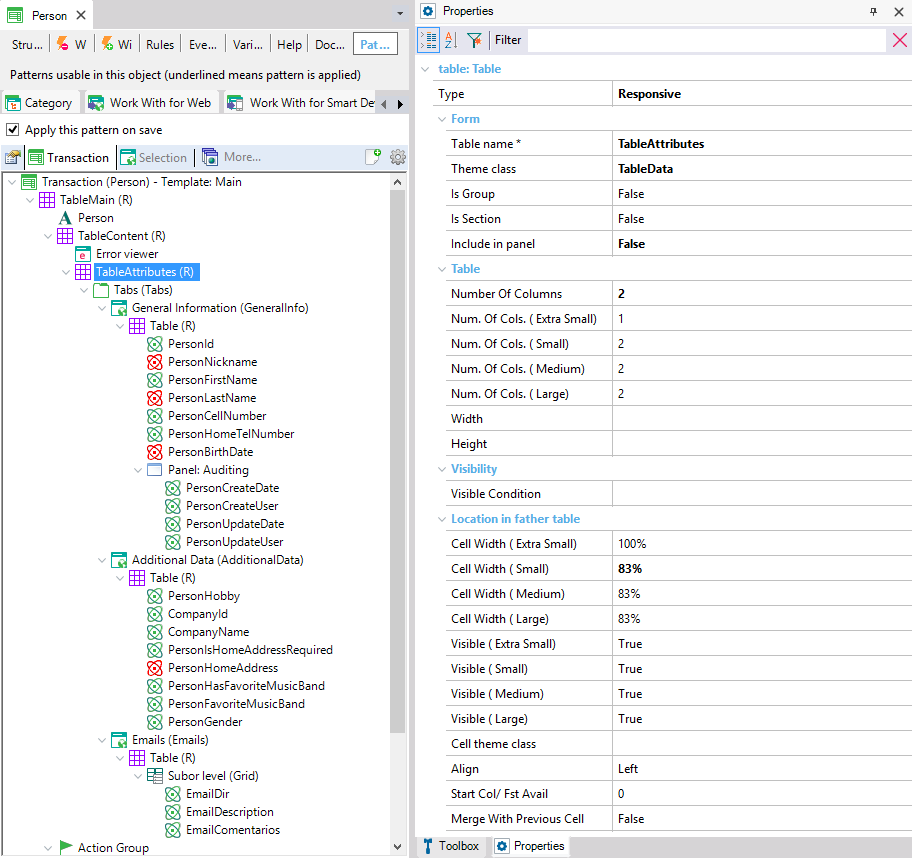
As we described before, each node has a group of properties. One of the table's properties is the number of columns it will had.
If we want the attributes to be displayed in the form in two columns, the table which contains them should have two columns.
As we can appreciate, the transaction form is being generated as we expected.
|